4.2 KiB
                         __  _________  ____    ___  _______  ____
                        / / / / __/ _ )|_  /___/ _ \/  _/ _ \/ __/
                       / /_/ /\ \/ _  |/_ <___/ ___// // ___/ _/
                       \____/___/____/____/  /_/  /___/_/  /___/
                             Copyright (c) 2019, EnjoyDigital
                                Powered by Migen & LiteX
USB3 PIPE Experiments
The aim of this project is to experiment with High Speed Transceivers (SERDES) of popular FPGAs to create a USB3.0 PIPE interface.
Current solutions for USB3 connectivity with an FPGA require the use of an external SerDes chip (TI TUSB1310A - SuperSpeed 5 Gbps USB 3.0 Transceiver with PIPE and ULPI Interfaces) or external FIFO chip (FTDI FT60X or Cypress FX3). With this project, we want to see if it's possible to just use the transceivers of the FPGA for the USB3 connectivity and have the USB3 PIPE directly implemented in the fabric (and then avoid any external chip!)
Targets
While we hope this wrapper will eventually support multiple protocols through the PIPE interface (such as PCIe, SATA, DisplayPort) it is currently targeting support for USB3.0 SuperSpeed when used with a customized the Daisho USB3 core.
It currently targets Xilinx Kintex7, Artix7 and Lattice ECP5 FPGAs.
Test Hardware
One of the following boards:
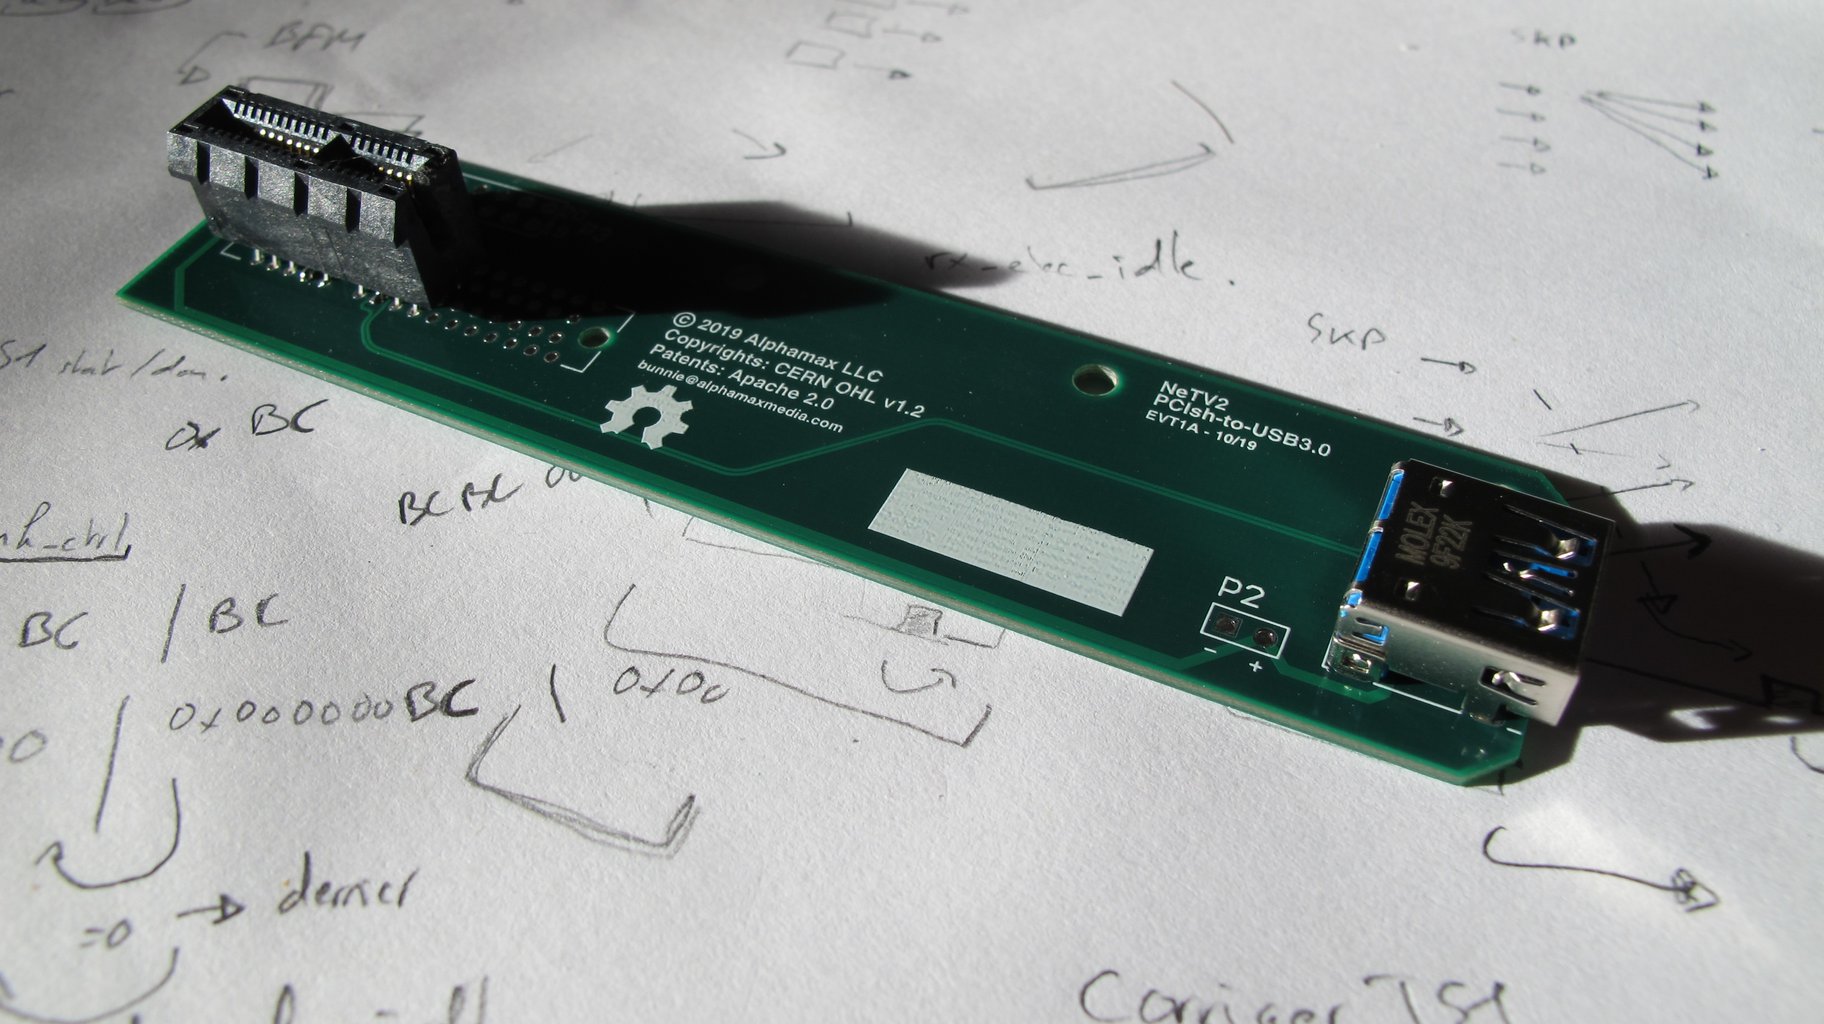
paired with the PCIsh-to-USB3.0 breakout board:
 (If you are interested by a breakout board, please ask)
Toolchain
This project targets;
- Xilinx Vivado for Kintex7 / Artix7 support
- Yosys + nextpnr for ECP5 support
There will also be a demo showing how to use a harness to expose the PIPE interface to the SymbiFlow Yosys + VPR flow.
Prerequisites
$ sudo apt install build-essential  wget git python3-setuptools
$ git clone ttps://github.com/enjoy-digital/usb3_pipe/
$ cd usb3_pipe
Installing LiteX
$ wget https://raw.githubusercontent.com/enjoy-digital/litex/master/litex_setup.py
$ chmod +x litex_setup.py
$ sudo ./litex_setup.py init install
Installing Verilator
$ sudo apt install verilator
$ sudo apt install libevent-dev libjson-c-dev
``
Running the LiteX simulation
$ ./sim.py
You should see the USB3.0 initialization between a Host and Device:
[00000000] HOST entering Polling.LFPS state
[00000000] DEV  entering Polling.LFPS state
[00000000] HOST entering Polling.LFPS state
[00000000] DEV  entering Polling.LFPS state
[00026641] HOST entering Polling.RxEQ state
[00026641] DEV  entering Polling.RxEQ state
[01075207] HOST entering Polling.Active state
[01075207] DEV  entering Polling.Active state
[01075296] HOST entering Polling.Configuration state
[01075296] DEV  entering Polling.Configuration state
[01075423] HOST entering Polling.Idle state
[01075423] DEV  entering Polling.Idle state
To have a .vcd waveform of the simulation, run it with --trace:
$ ./sim.py --trace
$ gtkwave build/gateware/dut.vcd
Running on hardware
Build the FPGA bitstream
Once installed, build the bitstream with:
$ ./target.py (can be kc705, pcie_screamer or versa_ecp5)
Load the FPGA bitstream
To load the bitstream to you board, run:
$ ./target.py load
